At a glance Protect your files before making changes, and choose the right backup when restoring data.
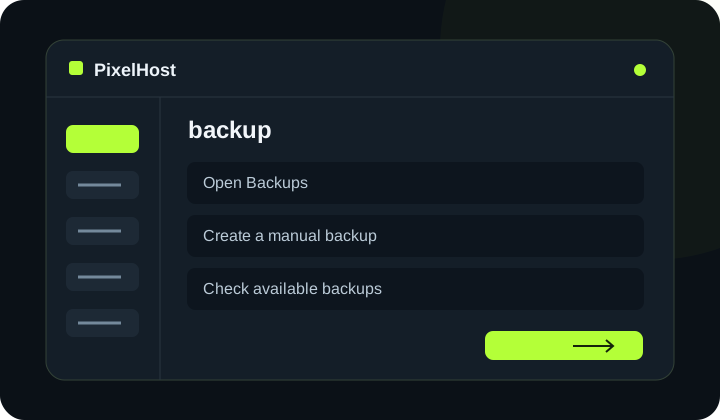
1. Open Backups
Choose your Minecraft server and open Backups (Kopie zapasowe). Wait for the list to load. Stop the server before the operation so world files do not change while the backup is being processed.
2. Create a manual backup
Under Save current state (Zapisz aktualny stan), click Create backup (Utwórz kopię zapasową). Wait for the completion message. Clicking the button alone does not confirm that a valid backup has been created.
3. Check available backups
Compare the dates and sizes under Available backups (Dostępne kopie). Choose a backup from before the problem started. Automatic backups are an optional extra; if you see Purchase access (Wykup dostęp), check the price and duration in the purchase summary.
4. Restore the selected backup
Save any current data you want to keep. Click Restore backup (Przywróć kopię) next to the correct backup, confirm the operation and wait for the result.
5. Check the restored server
Once restoration finishes, start the server, check the Console (Konsola) and join the game. Check your world, inventory and any add-ons affected by the problem.
Check that your changes have completed.
Wait for confirmation in the panel and check that the change applies to the correct service. If you need help, include the service number and the exact message in your support ticket.
Back to the knowledge base