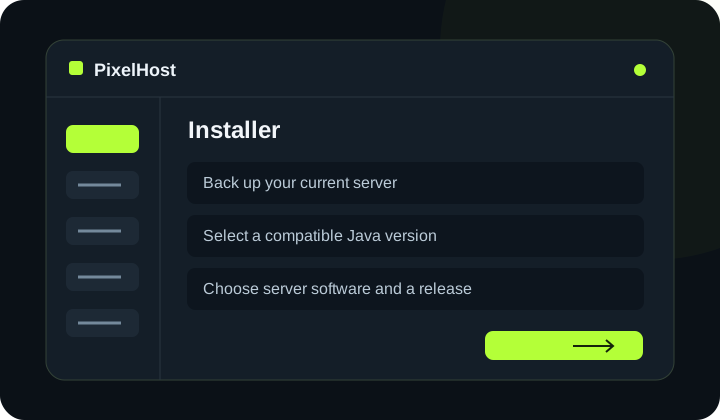
At a glance Choose your Minecraft server software, select a compatible Java version and check the first startup safely.
1. Back up your current server
Create a backup and stop the server before making changes. Changing versions can affect your world, plugins and mods. Downgrading does not guarantee that existing files will remain compatible.
2. Select a compatible Java version
Find Java version (Wersja Java) in the server information and click Change (Zmień). Choose the version required by your server software and mods. If the panel says the server is running, stop it before trying again.
3. Choose server software and a release
Open the Installer (Instalator). Select the server software, then choose the exact version from the list. Check it against your game client and add-on requirements: similar version numbers alone do not guarantee mod compatibility.
4. Confirm the installation
Read the summary and file warnings. Confirm the installation and wait for it to finish. Do not start multiple installations at the same time.
5. Check startup in the console
Start the server and open the Console (Konsola). If a configuration error appears, save the message. Avoid immediately reinstalling the whole service: reinstallation deletes files and does not replace diagnosing the problem.
Check that your changes have completed.
Wait for confirmation in the panel and check that the change applies to the correct service. If you need help, include the service number and the exact message in your support ticket.
Back to the knowledge base