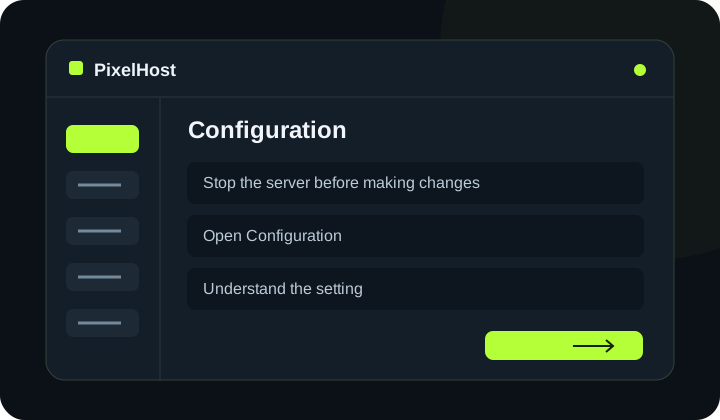
At a glance Change game settings in the Configuration tab, save them and check the result after startup.
1. Stop the server before making changes
Open your Minecraft server panel and stop the process. This reduces the risk of the running server overwriting your settings. Back up your files before making major changes.
2. Open Configuration
Open Configuration (Konfiguracja), then Basic configuration (Konfiguracja podstawowa). Read the descriptions next to each setting and change only the parameters you need.
3. Understand the setting
Check the field description and allowed values. Player account verification (online-mode) controls authentication, not whether the server starts. Do not disable it just because the server is offline.
4. Save and restart
Click Save settings (Zapisz ustawienia) in the relevant section and check the confirmation. Then start the server. If you change settings while it is running, some changes will only take effect after a restart.
5. Check the result in the game
Join the server and test the setting you changed. Plugin and mod settings may need to be edited in their own files through WebFTP; not everything is available under Basic configuration.
Check that your changes have completed.
Wait for confirmation in the panel and check that the change applies to the correct service. If you need help, include the service number and the exact message in your support ticket.
Back to the knowledge base