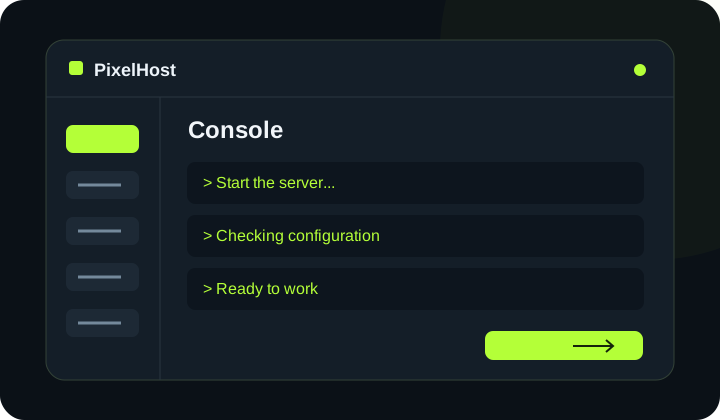
At a glance Start Minecraft, read the logs and send commands without joining the game.
1. Select your server
Open the correct service under Your services → Minecraft servers (Twoje usługi → Serwery Minecraft). Check its name and IP address.
2. Start the server
Click Start server (Uruchom serwer) and wait for the result. Open the Console (Konsola) tab. Logs show the startup process in progress; wait for startup to finish, then try joining the game to confirm the server is ready.
3. Read the logs
Read the latest entries and look for ERROR messages or exceptions. WARN indicates a warning and does not always mean the server has failed. If the process stopped, also check the lines immediately before the final error.
4. Send a command
Enter list to check online players, or help to see available commands. Server console commands usually do not need a leading slash. Send the command and check its response in the logs.
5. Stop the server or report a problem
Before editing files, click Stop server (Zatrzymaj serwer) and wait for the process to finish. If startup fails, include the relevant logs, server software and Java version in a support ticket. Do not send passwords or tokens.
Check that your changes have completed.
Wait for confirmation in the panel and check that the change applies to the correct service. If you need help, include the service number and the exact message in your support ticket.
Back to the knowledge base