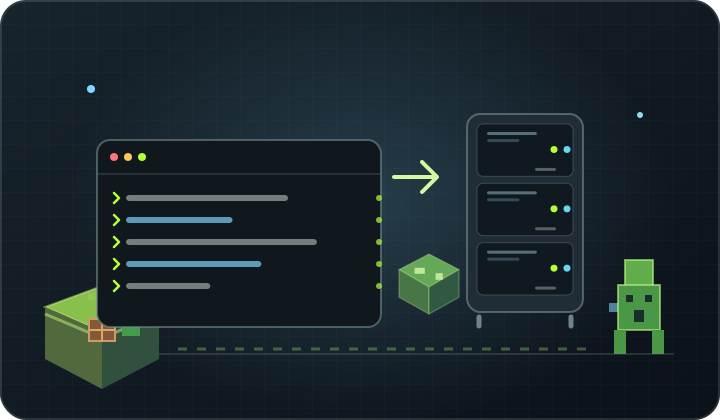
At a glance Prepare Linux, proper Java, server files, startup service and network rules.
1. Select resources and distribution of Linux
Select memory and processor for the game version, the number of plugins and players. Ubuntu LTS and Debian are popular choices. Create a separate user to support the server instead of running the game as root every day.
2. Secure and update the system
Sign in with SSH, apply updates and check which ports you need. Configure administrative and firewall access before sharing the server with players.
3. Install a compatible Java
The Java version must match the Minecraft version and the selected engine. Before installing, check the release requirements you use; they change with the versions of the game.
4. Get the right engine
Select Vanilla, Paper, Purpur, Forge or Fabric depending on plugins and mods. Download files only from the official project source and store the server in a separate directory with permissions limited to its user.
5. Accept terms and configuration of the server
Start the server for the first time, read the license terms and accept EULA only if you agree with them. Customize server.properties, configure the whitelist and open in the firewall only the required port of the game.
6. Maintain process and backup
Run the server as a service or in a managed terminal session so that the SSH disconnect does not end the game. Test restart, logs and playback. Monitor memory, processor and disk.
Back up first. Change one thing at a time.
Back up your working files, make a change and check the logs. Changing one thing at a time makes it easier to find the cause of a problem and restore your previous settings.
Back to the knowledge base